


Code Name: Vanguard
Vanguard is going to be a 60 percent, WKL keyboard based on the first satellite ever put out by NASA named vanguard one. The satellite being the first that was produced by the space agency was supposed to be a cheap first attempt at making something go to space and it worked.
To start my project I needed some design inspirations this started wth the satellite itself vanguard one. I liked the overall look of the mirror polished metal with a very raw look to it. It has a very crisp clarity to it that to me is very nice from a design perspective.
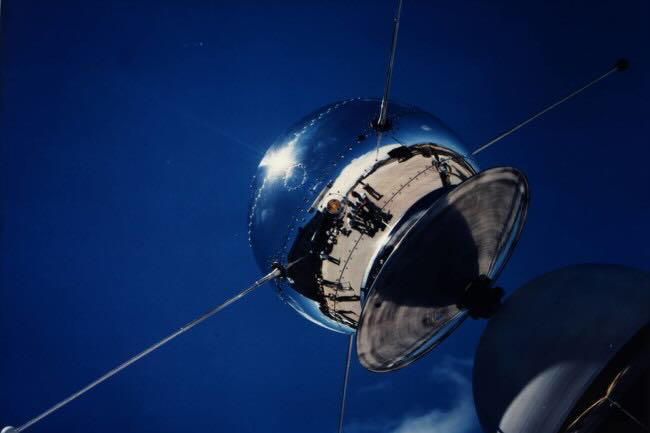

This thought process behind my designs eventually landed me to choose a raw aluminum keyboard design that I would be adapting.
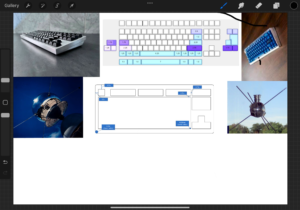
Alright now that I have my general thoughts in order it was time to start designing. I started with putting all of my inspiration on a board in the app procreate. It looked like this.
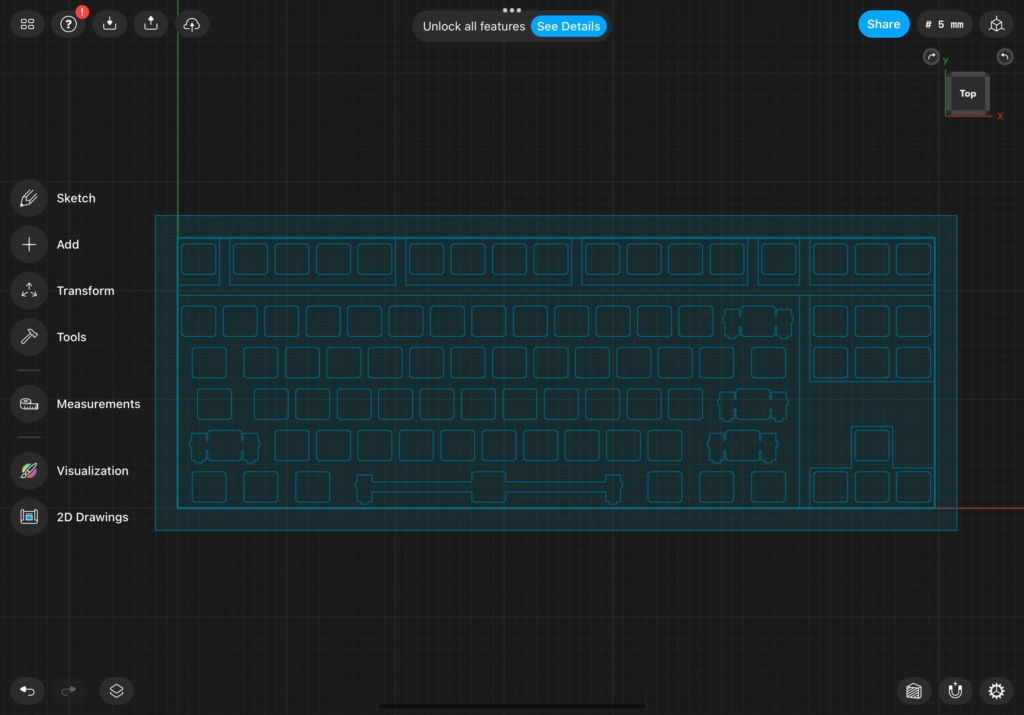
Later then I started designing in my software of choice this being Shapr. I chose this app because it has iPad support and is vey powerful for a mobile app. Then I started designing.
I started with a sketch of the outline of the case that I would be making. This started with making the layout in a keyboard layout editor which is an open browser software that allows you to easily measure out your entire layout without manually inputting every single measurement in between each key. (This would usually take a lot of work without this software)
After I’m done with that then I measure out the borders of the case and I come up with this.
In between these steps I made the rest of the outlines for the case beginning with the measurements between the keys and the various blockers.
After I finished this process I started on making the case outline this process took a while because I had to make sure that all my measurements were fitting properly and that was a very difficult task in the moment. Now however I am able to do it a lot easier because I know a lot more about how these things work however at the time my knowledge was very limited resulting in some of the biggest headaches that I have had over the course of this project.
However when all was said and done it looked like this.

In between these steps I made the rest of the outlines for the case beginning with the measurements between the keys and the various blockers.
After I finished this process I started on making the case outline this process took a while because I had to make sure that all my measurements were fitting properly and that was a very difficult task in the moment. Now however I am able to do it a lot easier because I know a lot more about how these things work however at the time my knowledge was very limited resulting in some of the biggest headaches that I have had over the course of this project.
However when all was said and done it looked like this.
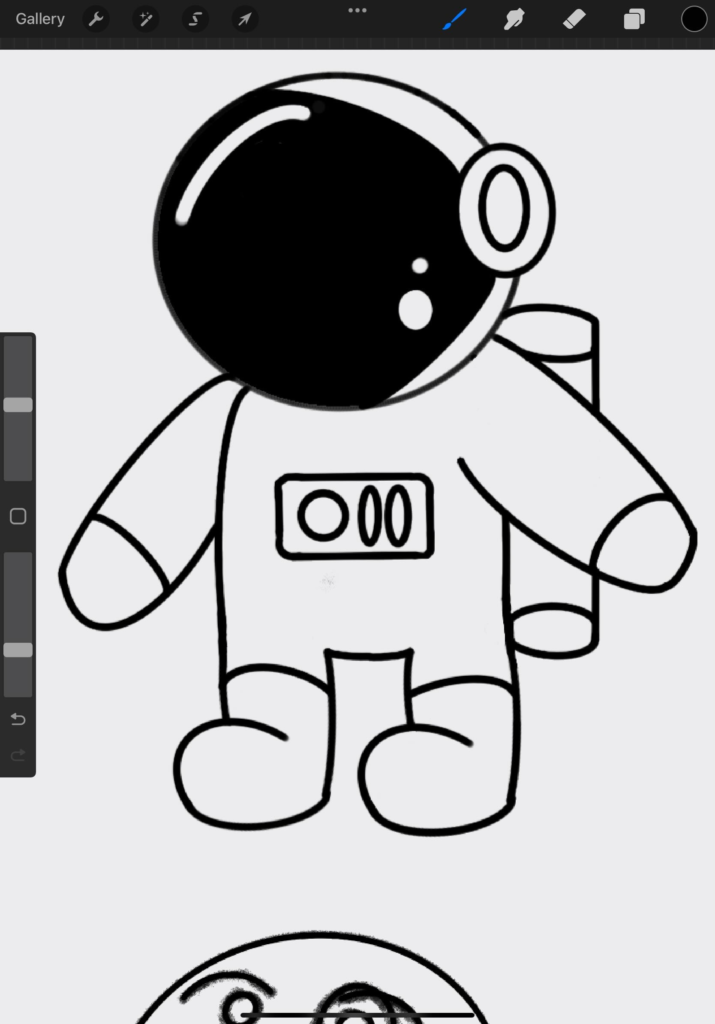
Now this is starting to look like an actual keyboard however at the moment it looks very bland. So as such I started on a back design that I would be able to incorporate into my build. Specifically I wanted a cool looking design that I would be able to put on the back of the keyboard. I wanted this to be an homage to the space exploration nature of vanguard one so I decided to make a little astronaut to put on the back of the keyboard. So I got to sketching.
After a few different designs I finally got to this which I’m pretty happy with.
Now this is where I leave off my build for now I have a lot of ideas for the future of this project mainly to try and get the design a bit more polished, try and find a way to incorporate the little astronaut man into the back of the keyboard and overall put some finishing touches on it so I can try and get it manufactured.
These are some of the challenges I have faced over the course of the start of this project.
Measurements and Tolerances
Probably the most important thing to keep in mind while designing any kind of product especially ones involving technology is making sure that all your measurements and tollerances are in line. This means analyzing every single nock and cranny to make sure that everything in your little creation actually fits and makes sense on a physical plane. This has probably been one of the biggest challenges for me particuallarly simply because of how tedious it can feel at times. Making sure everything works can be really annoying, especially when your looking forward to the creative design aspects that can only commence after everything is taken care of.
Learning How To Use 3D Modelling Softwares.
The process of learning these 3d modelling softwares that I have stated to use has been a very challenging one. One of the most frustrating things that anyone can face in my opinion is when your starting out in a new unfamiliar software and you know what you want to do but you just don’t quite know the right button to press or the right key input to really get what your looking for. This is why tools like youtube to me are so valuable because they will allow me to avoid trial and error as much as possible when it comes to tools and will just give me an answer right off the bat. However no amount of googling can really get you to know a skill, every person just gets better at a skill by just doing and that is the biggest thing that I have had to remember.